

www.shellymateer.com [email protected]
www.shellymateer.com [email protected]
Self-Publishing for Moms
Publish Your Book on Amazon in 5 Easy Steps
By Shelly Mateer

www.shellymateer.com [email protected]
www.shellymateer.com [email protected]
Copyright © 2017 Shelly Mateer
All rights reserved.
www.shellymateer.com
Cover art by Shelly Mateer
Published by False Buddha LLC
1314 East Las Olas Boulevard No. 232
Fort Lauderdale, Florida 33301, USA
The information in this eBook is meant to be used for informational purposes only and to assist all readers in reaching their
dreams of becoming published authors.
The author spent time and effort to put this eBook together to help as many people as possible. With that in mind, please
do not give away free copies of this eBook. The author greatly appreciates all readers for their support.


www.shellymateer.com [email protected]
www.shellymateer.com [email protected]
Introduction
You did it!
So, you have finished your
manuscript. Your work of art is
edited, formatted and ready to be
presented to the world. You are
going to be a published author!
Time
As a busy mom of two young
children, I am painfully familiar with
how little time there is in a day. I
have written this eBook with that in
mind, getting right to the point and
with very little waste of words. I’ve
broken each chapter down into
steps, with an approximate time that
may be required to complete each
item. These may vary from person to
person, but I have tried my best to
make them as accurate as possible,
at least in my experience.
I’ve included my email address at
the top and bottom of each page.
Should you have any questions
along the way, please do not
hesitate to email me. I will try to get
back to you as quickly as possible.
Lots of options
I use Amazon KDP, CreateSpace (an
Amazon company) and Smashwords
to publish my books. There are
many other services to choose from,
but these work for me and I feel that
they sufficiently cover all my bases
in terms of getting my books out
there to as many selling platforms
as possible. I wrote this guide with
the services that I currently use in
mind. This particular eBook focuses
on CreateSpace.
Let’s Get Started!
If you are like me, you only have
intervals of maybe ten minutes of
uninterrupted time to work on your
own projects. If you are lucky, you
might get an hour here and there.
With that in mind, I won’t waste any
more of your time – let’s get started!
www.shellymateer.com [email protected]
www.shellymateer.com [email protected]
Chapter One – Step One
After you have created your
CreateSpace account you will add
your new title. For this part of the
process, you will just be filling out
information about your book. At this
point, you will likely only have the
title, author information and
language. Fill those in and you will
be taken to the next step, obtaining
an ISBN.
Obtain an ISBN = 5 minutes
What is an ISBN?
You can find a wealth of information
about ISBNs on the internet, so I
won’t go into too much detail here.
An ISBN is an International Standard
Book Number. It is essentially a
product identifier used by
publishers, booksellers, libraries –
basically any entity involved in the
supply chain of books. The ISBN
identifies the registrant, as well as
the specific title, edition and format
of your book. Each different form of
your product (your book) should
have its own ISBN. Actually, I have
read that you are not required to
have an ISBN for an eBook, but, in
my experience I have always gotten
one.
ISBN Options
When publishing the print version of
your book on CreateSpace you will
be presented with some choices
regarding your ISBN. You can
choose a CreateSpace assigned
ISBN, which is free. There are some
limitations to using this free option
though. This ISBN can only be used
with the CreateSpace Independent
Publishing Platform and this will be
your book’s imprint of record and
will be reflected on your book’s
detail page. This means that the
publisher will be listed as
CreateSpace and the sole distributor
of the book will be CreateSpace.
One benefit to using the free ISBN
assignment is that you will be able
to sell your book in all of the
Expanded Distribution channels.
This allows you to distribute your
book through the Libraries and
Academic Institutions channel. You
can sell your book through
Amazon.com, Amazon's European
websites and a CreateSpace eStore.
Your book's ISBN information will
be registered with
BooksInPrint.com®.
Your second choice is to purchase a
Custom Universal ISBN. The fee for
this is $99. I personally like this
option because I like to have
freedom to do what I want. I don’t
like a lot of rules and restrictions.
You can use this ISBN with any
publisher. You choose your book’s
imprint of record, which is reflected
on your book’s detail page. The one
downside, besides the $99 fee, is
that you will not be eligible for
distribution through the Libraries
and Academic Institutions channel.
Other than that, you choose the
distributors for your book. The
Custom Universal ISBN option is
offered through an agreement with
Bowker®. Bowker® is the official
ISBN agency for the United States
and its territories and Australia. You
can sell your book through
Amazon.com, Amazon's European
websites and a CreateSpace eStore.
Your book's ISBN information will
be registered with
BooksInPrint.com®.

www.shellymateer.com [email protected]
www.shellymateer.com [email protected]
Your third option is to provide your
own ISBN. You can purchase one
through Bowker® or through your
local ISBN agency. You have all of
the distribution options as the other
two choices mentioned, but as with
the Custom Universal option you
will not be eligible for distribution
through the Libraries and Academic
Institutions channel. You can sell
your book through Amazon.com,
Amazon's European websites and
an eStore.
How do I get an ISBN?
When you are going through the
process of creating your print book
in CreateSpace you will be taken
through each step. CreateSpace
pretty much walks you through the
assignment of the ISBN, with the
only exception possibly being the
third option of providing your own
ISBN. In that case you would follow
the instructions on Bowker® or your
local ISBN agency’s website. Pay for
it, and you are done.
What do I do with the ISBN?
You will be inserting your ISBN on
the copyright page of your book.
Simply go into your word processor
and insert the number. Here is an
example of what it will look like:

www.shellymateer.com [email protected]
www.shellymateer.com [email protected]
Chapter Two – Step Two
This step may be optional for you. If
that is the case, you can skip to
Step Three.
Obtain an LCCN = 1-4 days
What is an LCCN?
An LCCN is a Library of Congress
Control Number. It can also be
called a Library of Congress Catalog
Control Number or a Preassigned
Control Number (PCN). A Library of
Congress Catalog Control Number
is a unique identification number
that the Library of Congress assigns
to the catalog record created for
each book in its cataloged
collections. Librarians use it to
locate a specific Library of
Congress catalog record in the
national databases and to order
catalog cards from the Library of
Congress or from commercial
suppliers. Should you wish to apply
for one, you will be requesting what
is called a Preassigned Control
Number (PCN). The purpose of the
Preassigned Control Number
program is to enable the Library of
Congress to assign control numbers
in advance of publication to those
titles that may be added to the
Library’s collections.
Do I need one?
As far as I know, there is no
requirement for you to get an LCCN.
But, if you want to make it easier for
libraries to purchase your book, you
should register for one.
In addition, certain books are
ineligible for an LCCN. Books under
fifty pages (except children’s and
genealogical literature) are ineligible
for the program. Your LCCN will
only be for your print version –
eBooks are ineligible for an LCCN,
even if their print version has one.
How do I get an LCCN?
Please note that websites are
occasionally updated so these
instructions may change slightly.
Head over to the Library of
Congress website at www.loc.gov
and on the Services menu, select
the Publishing option. Then select
the Preassigned Control Number
(PCN) option.
Open an account. Complete the
Application to Participate and obtain
an account number and password.
This will then allow you to access
the appropriate form for requesting
Library of Congress control
numbers. You will need your ISBN
to complete the form. Fill out the
Application to Participate and
submit it. Within a few days you will
be emailed an account number and
password providing you access to
the appropriate application form.
Once you receive this email you
must respond to it. Within another
one to two days (subject to
variation) you will get an email with
your LCCN.
This all sounds really complicated
and time-consuming. It is not. The
form is simple, and once you submit
it, you will hear back via email within
one to two days (subject to change).
If you complete the process
yourself, it is free. Well, minus one
copy of your book. Once your book
has been published you will have to

www.shellymateer.com [email protected]
www.shellymateer.com [email protected]
send one copy of the best edition of
your book to the Library of
Congress.
If you do not want to do this step
yourself, CreateSpace has a service
where they will help you obtain an
LCCN, for a fee. This cost was $25
last I checked.
What do I do with the LCCN?
You will be inserting your LCCN on
the copyright page of your book.
Simply go into your word processor
and insert the number. Here is an
example of what it will look like:
You will probably also want to save
it in a file on your computer or other
storage device. Some people also
like to print it out and keep it in a
physical folder somewhere.
Please note that submission for
cataloging does not guarantee
acceptance into the Library of
Congress. To find out if your book
has been cataloged, you can check
the Library of Congress Online
Catalog.

www.shellymateer.com [email protected]
www.shellymateer.com [email protected]
Chapter Three – Step Three
Now you will get the interior of your
book ready. You will choose the
details such as trim size and page
color, which are up to you. The
standard size trim is 6” X 9” with 5”
X 8” also being a common choice.
At this time I would also suggest
getting your cover image ready. I
personally like to do them myself,
but you can also hire a professional
cover designer.
Format your book = 5-10 days
Get ready to wait.
Make sure that you have edited your
manuscript for spelling, grammar
and typos. Do not worry too much
about the format of your manuscript
at this point. In fact, don’t worry at
all about it. But make sure you have
the best copy of your manuscript
ready in a Word document. Then
send the document out to be
formatted. I choose to have my
books professionally formatted, but
you can of course do it yourself. I
prefer to hire a service to do this
part. It ensures that my book will
look as professional as it possibly
can. I also do not have the time and
uninterrupted focus that I feel it
would require to format the book
myself.
The company I like to use is called
eBook Launch. They do a fantastic
job and are very affordable.
The timeframe for this step will vary
depending on the length of your
book and the services you are in
need of. I find it helpful to send my
book in along with the intended
cover image. I then request
formatting for the print version
(CreateSpace) as well as for the
eBook versions. I personally like to
give my customers many different
options when it comes to reading
my books.
Upload
Once you get your book back in all
of the different formats in which you
have chosen to have it formatted,
save copies to a thumb drive, on
your computer, wherever you feel is
the safest place to save them. Then
you simply upload each copy to its
corresponding channel.
CreateSpace conveniently walks
you through the process, so it will
be relatively simple. Their system
then checks your book for
formatting issues. After twelve to
twenty-four hours your book will be
ready for you to proofread on their
electronic reader. Make sure you
also order a hardcopy proof. The
time involved in waiting to receive
this proof is probably the longest
portion of time that you will spend in
this whole self-publishing process,
and it all depends on how quickly
your proof is printed and how
quickly the shipping service works.
www.shellymateer.com [email protected]
www.shellymateer.com [email protected]
Chapter Four – Step Four
The time required to complete this
step is of course different for
everyone.
Proofread your book = 1-2
hours
How exciting!
You now have the very first copy of
your book in your hands! It is one of
the best feelings to see your very
own creation come to life.
Now you need to look the entire
book over. Check it for formatting
issues, missing paragraphs,
missing sentences, the text not
lining up correctly, consistency in
chapter headings, page numbers,
everything. If you can, have another
person look it over also. Should you
need to revise anything, go back to
your manuscript and fix what you
need to fix and go back to Step
Three.
Approve it
Once you have looked the book over
and are happy with what you see,
approve it and make it available for
purchase. Typically in twenty-four
hours (if not sooner) I will notice my
book is available on Amazon for
sale.
www.shellymateer.com [email protected]
www.shellymateer.com [email protected]
Chapter Five – Step Five
Make your book available in all
channels possible, set the
price and update your detail
page = 10 minutes
Congratulations!
Your book is now for sale! Check off
all of the available standard and
expanded distribution channels; you
will want your book available in as
many channels as possible. Then
set your pricing. Amazon will
suggest a minimum price for your
book. I usually stick pretty close to
what they recommend. Then write
and insert a quick book description.
This is just a simple, but catchy,
summary of your book. Write
something that will make people
want to read your book. After you
insert this summary there is a field
for the BISAC Category. This stands
for Book Industry Standards and
Communications. These categories
are used by the book-selling
industry to help identify and group
books by their subject matter.
Choose the BISAC category that you
feel best fits your book.
Insert an author biography to let your readers know a bit about you. Choose your book’s language and publication country. Then add some search keywords. Search keywords can help your title show up on both Amazon.com and search engines. Pick phrases that you think customers are likely to use when either searching for your title specifically, or when shopping for products that may be similar in subject matter. You can add up to five keyword phrases separated by commas. If the content you provide for your product’s detail page is not suitable for minors under the age of 18 you will want to check off the
Contains Adult Content section. Then check off Large Print if your book is formatted for the eyesight impaired - typically with a font size of at least 16 points - your book's Amazon product detail page will be clearly marked "large print," and your book will be included in, but not limited to, the large print book browse listings.
Choose from matte or glossy for
your new book cover. This is purely
a matter of your preference.
You are now a published author!
Now that a print version of your
book is available for sale, you will
want to offer your eBook version on
Amazon’s Kindle Direct Publishing
(KDP) service. Follow the prompts
on your CreateSpace dashboard, or
go directly to the KDP site to do
this.
www.shellymateer.com [email protected]
www.shellymateer.com [email protected]
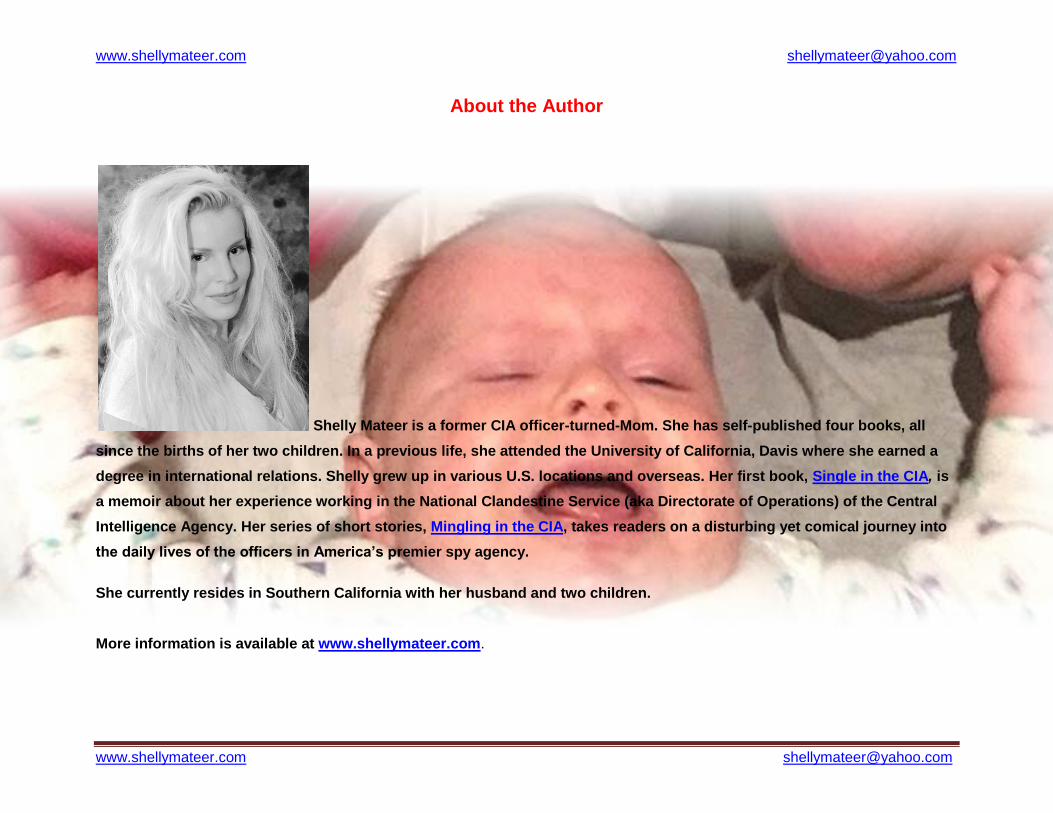
About the Author
Shelly Mateer is a former CIA officer-turned-Mom. She has self-published four books, all
since the births of her two children. In a previous life, she attended the University of California, Davis where she earned a
degree in international relations. Shelly grew up in various U.S. locations and overseas. Her first book, Single in the CIA, is
a memoir about her experience working in the National Clandestine Service (aka Directorate of Operations) of the Central
Intelligence Agency. Her series of short stories, Mingling in the CIA, takes readers on a disturbing yet comical journey into
the daily lives of the officers in America’s premier spy agency.
She currently resides in Southern California with her husband and two children.
More information is available at www.shellymateer.com.


