using the skywire ® mode m with raspberry pi · pdf fileconnect your raspberry pi to an...
TRANSCRIPT

Using the Skywire® Modem with Raspberry Pi NimbeLink Corp Updated: May 2016
PN 30119 © NimbeLink Corp. 2016. All rights reserved. 1

Table of Contents
Table of Contents 2
1. Introduction 3 1.1 Orderable Part Numbers 3 1.2 Prerequisites 3 1.3 Overview 3 1.4 Testing 3
2. Method 1: NimbeLink E2CLink™ 4 2.1 Introduction 4 2.2 Setup Your E2CLink™ 4 2.3 Start Your Raspberry Pi 4 2.4 Connect Your E2CLink™ 4 2.5 Verify Your Connection 4
3. Method 2: Skywire Development Kit via USB 5 3.1 Introduction 5 3.2 Connect the Development Kit 6 3.3 Start Your Raspberry Pi 6 3.4 Install PPP 6 3.5 Setup PPP 7 3.6 Start PPP 7
4. Method 3: Skywire Development Kit via UART Headers 8 4.1 Introduction 8 4.2 Connect the Development Kit 9 4.3 Start Your Raspberry Pi 9 4.4 Disable Console Serial Access on Your Raspberry Pi 10 4.5 Install PPP 10 4.6 Setup PPP 10 4.7 Start PPP 11
PN 30119 © NimbeLink Corp. 2016. All rights reserved. 2
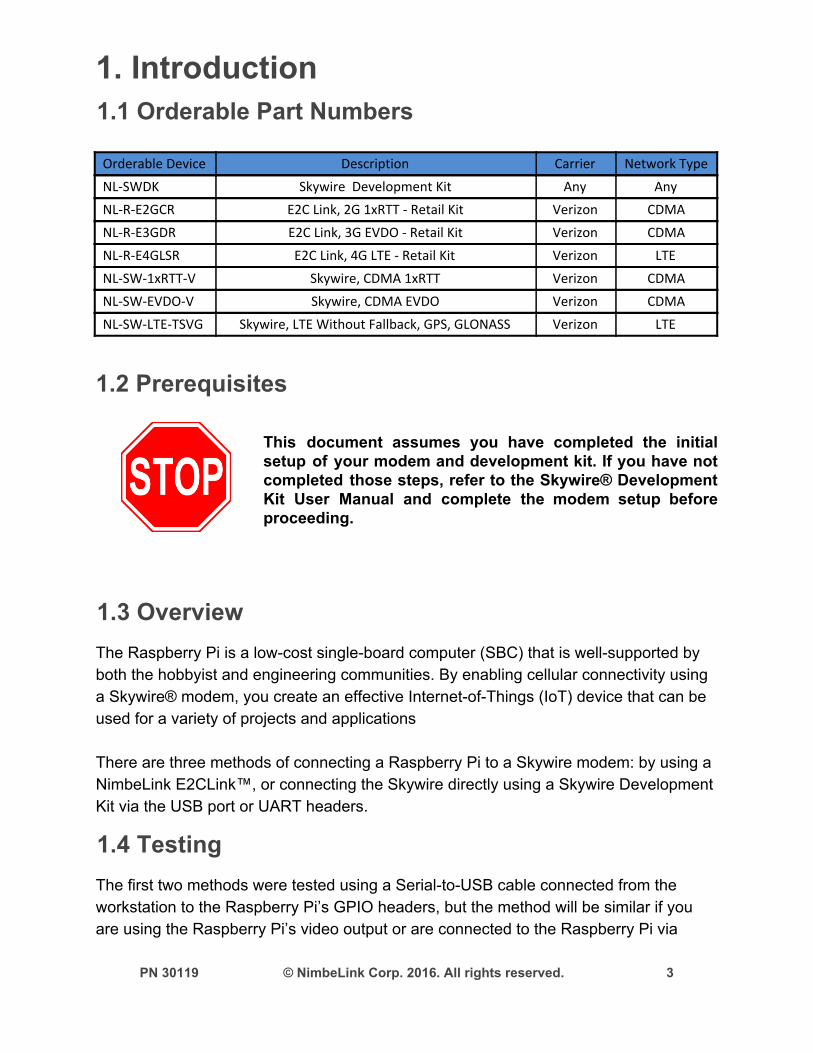
1. Introduction 1.1 Orderable Part Numbers
Orderable Device Description Carrier Network Type
NL-SWDK Skywire Development Kit Any Any
NL-R-E2GCR E2C Link, 2G 1xRTT - Retail Kit Verizon CDMA
NL-R-E3GDR E2C Link, 3G EVDO - Retail Kit Verizon CDMA
NL-R-E4GLSR E2C Link, 4G LTE - Retail Kit Verizon LTE
NL-SW-1xRTT-V Skywire, CDMA 1xRTT Verizon CDMA
NL-SW-EVDO-V Skywire, CDMA EVDO Verizon CDMA
NL-SW-LTE-TSVG Skywire, LTE Without Fallback, GPS, GLONASS Verizon LTE
1.2 Prerequisites
This document assumes you have completed the initial setup of your modem and development kit. If you have not completed those steps, refer to the Skywire® Development Kit User Manual and complete the modem setup before proceeding.
1.3 Overview The Raspberry Pi is a low-cost single-board computer (SBC) that is well-supported by both the hobbyist and engineering communities. By enabling cellular connectivity using a Skywire® modem, you create an effective Internet-of-Things (IoT) device that can be used for a variety of projects and applications There are three methods of connecting a Raspberry Pi to a Skywire modem: by using a NimbeLink E2CLink™, or connecting the Skywire directly using a Skywire Development Kit via the USB port or UART headers.
1.4 Testing The first two methods were tested using a Serial-to-USB cable connected from the workstation to the Raspberry Pi’s GPIO headers, but the method will be similar if you are using the Raspberry Pi’s video output or are connected to the Raspberry Pi via
PN 30119 © NimbeLink Corp. 2016. All rights reserved. 3

SSH. Because the third method requires disabling the console access via UART, it was tested by connecting the Raspberry Pi directly to a monitor, keyboard, and mouse. However, Both of these methods were testing on the following hardware and operating systems:
Operating Systems Raspbian 8 (Kernel 4.1.19+) Hardware Raspberry Pi 1 Model B
2. Method 1: NimbeLink E2CLink™ 2.1 Introduction The easiest method to get a cellular connection on your Raspberry Pi is using a NimbeLink E2CLink™. The E2CLink™ allows you to get a cellular connection using the Ethernet port on your device. In this case, we will be connecting the E2CLink™ to our Raspberry Pi using the Raspberry Pi’s ethernet port.
2.2 Setup Your E2CLink™ Follow the instructions that came with your E2CLink™, or consult the E2CLink™ User Manual (http://nimbelink.com/wp-content/uploads/2015/11/User-Manual-E2C-Link.pdf) to get connected.
2.3 Start Your Raspberry Pi Start your Raspberry Pi, and open a terminal window if one isn’t opened already.
2.4 Connect Your E2CLink™ Power on the E2CLink™ if it isn’t powered already, and connect an Ethernet cable from the E2CLink’s™ Ethernet port to the Ethernet port on your Raspbarry Pi.
2.5 Verify Your Connection The E2CLink™ will automatically issue an IP address to your Raspberry Pi, and the Raspberry Pi will treat the connection as a normal Ethernet connection. Verify that your connection is active: pi@raspberrypi:~$ ifconfig eth0 Link encap:Ethernet HWaddr b8:27:eb:f2:73:97
inet addr:192.168.1.189 Bcast:192.168.1.255 Mask:255.255.255.0
PN 30119 © NimbeLink Corp. 2016. All rights reserved. 4

inet6 addr: fdb8:79bd:538f::d40/128 Scope:Global inet6 addr: fe80::6315:51a0:af46:dfdb/64 Scope:Link inet6 addr: fdb8:79bd:538f:0:dee0:ac7e:584c:8226/64 Scope:Global
UP BROADCAST RUNNING MULTICAST MTU:1500 Metric:1 RX packets:147 errors:0 dropped:1 overruns:0 frame:0 TX packets:272 errors:0 dropped:0 overruns:0 carrier:0 collisions:0 txqueuelen:1000 RX bytes:12475 (12.1 KiB) TX bytes:46745 (45.6 KiB)
lo Link encap:Local Loopback
inet addr:127.0.0.1 Mask:255.0.0.0 inet6 addr: ::1/128 Scope:Host UP LOOPBACK RUNNING MTU:65536 Metric:1 RX packets:154 errors:0 dropped:0 overruns:0 frame:0 TX packets:154 errors:0 dropped:0 overruns:0 carrier:0 collisions:0 txqueuelen:0 RX bytes:12832 (12.5 KiB) TX bytes:12832 (12.5 KiB)
To test the connection: pi@raspberrypi:~$ ping google.com PING google.com (63.84.3.24) 56(84) bytes of data. 64 bytes from 63.84.3.24: icmp_seq=1 ttl=53 time=83.8 ms 64 bytes from 63.84.3.24: icmp_seq=2 ttl=53 time=85.5 ms 64 bytes from 63.84.3.24: icmp_seq=3 ttl=53 time=66.0 ms 64 bytes from 63.84.3.24: icmp_seq=4 ttl=53 time=83.1 ms 64 bytes from 63.84.3.24: icmp_seq=5 ttl=53 time=76.6 ms ^C
--- google.com ping statistics --- 5 packets transmitted, 5 received, 0% packet loss, time 4813ms rtt min/avg/max/mdev = 66.005/79.045/85.545/7.195 ms
Your Raspberry Pi now has an internet connection via the E2CLink™.
3. Method 2: Skywire Development Kit via USB 3.1 Introduction Another method to get cellular connectivity to your Raspberry Pi is to use a Skywire Development Kit’s USB connection.
PN 30119 © NimbeLink Corp. 2016. All rights reserved. 5

Note: You will need an internet connection using either Ethernet or a Wifi adapter to install packages for this method.
Note: This example is using a Skywire ™ NL-SW-LTE-TSVG Verizon CAT3 Modem.
3.2 Connect the Development Kit Install your Skywire ™ Modem and antenna and apply power according to the Development Kit User Manual: http://nimbelink.com/wp-content/uploads/2014/08/User-Manual-Skywire-Development-Kit.pdf Apply power, and connect the USB cable from connector J5 on the Development Kit to your Raspberry Pi’s USB port.
3.3 Start Your Raspberry Pi Start your Raspberry Pi, and connect it to either an Ethernet or Wifi source. Open a terminal window if one isn’t opened already. Verify that the Raspberry Pi can see the Skywire ™ Modem: pi@raspberrypi:~# lsusb Bus 001 Device 005: ID 1bc7:1201 Telit Bus 001 Device 003: ID 0424:ec00 Standard Microsystems Corp. SMSC9512/9514 Fast Ethernet Adapter Bus 001 Device 002: ID 0424:9512 Standard Microsystems Corp. LAN9500 Ethernet 10/100 Adapter / SMSC9512/9514 Hub Bus 001 Device 001: ID 1d6b:0002 Linux Foundation 2.0 root hub
You should see something similar to the top item: Bus 001 Device 005: ID 1bc7:1201 Telit
3.4 Install PPP To get a cellular data connection, we will be using Point-to-Point Protocol (PPP). Connect your Raspberry Pi to an internet source, either via Ethernet or a Wifi adapter, and install PPP. To begin, elevate to root: pi@raspberrypi:~$ sudo -i
And install PPP: root@raspberrypi:/$ apt-get install ppp
Enter your password, and type “y” when prompted to install PPP.
PN 30119 © NimbeLink Corp. 2016. All rights reserved. 6

3.5 Setup PPP Once PPP is installed, you need to create two files to enable the connection. We will go over them here briefly, but for more information please consult the PPP guide for your specific Skywire modem. Create the file /etc/ppp/peers/verizon with your favorite text editor, and add the following: /dev/ttyUSB3
115200
connect "/usr/sbin/chat -v -f /etc/ppp/peers/verizon-chat" noauth
defaultroute
usepeerdns
local
debug
updetach
Save and close the file. Next, create the file /etc/ppp/peers/verizon-chat with your favorite text editor, and add the following: TIMEOUT 35 ECHO ON '' \rATZ OK 'ATQ0 V1 E1 S0=0 &C1 &D2 +FCLASS=0' OK AT+CGDCONT=3,"IP","mw01.vzwstatic","0.0.0.0",0,0 OK ATD*99***3# CONNECT ''
Replace mw01.vzwstatic with the APN for your modem. Note: The double quotes on lines 3 and 7 are two single-quotes with no space between them (‘’), not one double quote (“). Save and close the file.
3.6 Start PPP From the terminal, we need to disable your internet connection. Either disconnect the cable for an Ethernet connect, disconnect from the network for a wireless connection, or bring down your connections using ifconfig: root@raspberrypi:~# ifconfig eth0 down
root@raspberrypi:~# ifconfig wwan0 down
In the terminal, type the following command: root@raspberrypi:~# pon verizon
PN 30119 © NimbeLink Corp. 2016. All rights reserved. 7

Once complete, verify that you have a PPP connection: root@raspberrypi:~# ifconfig
And you should see something similar to the following: ppp0 Link encap:Point-to-Point Protocol
inet addr:100.111.25.135 P-t-P:10.64.64.64 Mask:255.255.255.255
UP POINTOPOINT RUNNING NOARP MULTICAST MTU:1500 Metric:1
RX packets:57 errors:0 dropped:0 overruns:0 frame:0 TX packets:58 errors:0 dropped:0 overruns:0 carrier:0 collisions:0 txqueuelen:3 RX bytes:4579 (4.4 KiB) TX bytes:3957 (3.8 KiB)
Finally, test that you have a connection: root@raspberrypi:~# ping google.com PING google.com (63.84.3.26) 56(84) bytes of data. 64 bytes from 63.84.3.26: icmp_seq=1 ttl=53 time=52.6 ms 64 bytes from 63.84.3.26: icmp_seq=2 ttl=53 time=263 ms 64 bytes from 63.84.3.26: icmp_seq=3 ttl=53 time=258 ms ^C
--- google.com ping statistics --- 3 packets transmitted, 3 received, 0% packet loss, time 2002ms rtt min/avg/max/mdev = 52.629/191.806/263.936/98.436 ms
Your Raspberry Pi now has an internet connection via the Skywire Development Kit’s USB port.
4. Method 3: Skywire Development Kit via UART Headers 4.1 Introduction An additional method to get a cellular connection on your Raspberry Pi is to use the Skywire Development Kit’s UART headers. These headers allow you to use the Skywire Development Kit with any microcontroller or computer.
Note: When using the UART connection, it is advantageous to use hardware flow control (CTS/RTS). Enabling hardware flow control is not an easy process on the Raspberry Pi, so if you want to use the UART headers, it is advised that you do not use them for high-speed data transfers. If you do want to use high-speed data transfers, please follow this guide to setup CTS/RTS:
PN 30119 © NimbeLink Corp. 2016. All rights reserved. 8

https://github.com/mholling/rpirtscts
Note: In order to use the Raspberry Pi’s onboard UART, you need to disable the login shell UART access, and cannot use a USB-to-Serial adapter cable to communicate with the Raspberry Pi. So, you will need to connect directly to the Raspberry Pi using a keyboard, mouse, and HDMI cable, or SSH into the Raspberry Pi.
Note: You will need an internet connection using either Ethernet or a Wifi adapter to install packages for this method.
4.2 Connect the Development Kit Install your Skywire ™ Modem and antenna according to the Development Kit User Manual: http://nimbelink.com/wp-content/uploads/2014/08/User-Manual-Skywire-Development-Kit.pdf Remove the jumper on header J6. This allows you to connect the Skywire Development Kit to the Raspberry Pi. Next, make the following connections from the Raspberry Pi to the Skywire Development Kit:
Connection Number From Pin on Raspberry Pi To Pin on Skywire Dev. Kit (J8)
1 8 (GPIO 14 - UART0_TXD) 6 (SW_DIN)
2 10 (GPIO 15 - UART0_RXD)
10 (SW_DOUT)
3 6 (GND) 8 (DGND) It may be beneficial to consult page 3 of the Skywire Development Kit schematic for pinout information: http://nimbelink.com/wp-content/uploads/2014/08/Schematic-Skywire-Development-Kit.pdf
4.3 Start Your Raspberry Pi Start your Raspberry Pi, and connect it to either an Ethernet or Wifi source. Open a terminal window if one isn’t opened already.
PN 30119 © NimbeLink Corp. 2016. All rights reserved. 9

4.4 Disable Console Serial Access on Your Raspberry Pi By default, the Raspberry Pi uses the UART pins to provide console access for a serial connection. However, in order to use the Skywire modem, we need to disable this. In your terminal window, start the Raspberry Pi Software Configuration Tool: pi@raspberrypi:~ $ sudo raspi-config
Once the tool starts, arrow down to: 9 Advanced Options
and hit the Enter key. In the advanced menu, arrow down to: A8 Serial
and hit the Enter key. A window will appear that asks if you want to the login shell to be accessible over serial. Arrow over to: No
and hit Enter. A window will appear that says serial is now disabled. Hit Enter, and then use the right arrow to select: Finish
A window will appear asking if you’d like to reboot, and select: Yes
Once your Raspberry Pi reboots, open a terminal window again, and apply power to the Skywire Development Kit.
4.5 Install PPP To get a cellular data connection, we will be using Point-to-Point Protocol (PPP). Connect your Raspberry Pi to an internet source, either via Ethernet or a Wifi adapter, and install PPP. To begin, elevate to root: pi@raspberrypi:~$ sudo -i
And install PPP: root@raspberrypi:/$ apt-get install ppp
Enter your password, and type “y” when prompted to install PPP.
4.6 Setup PPP Once PPP is installed, you need to create two files to enable the connection. We will go over them here briefly, but for more information please consult the PPP guide for your specific Skywire modem.
PN 30119 © NimbeLink Corp. 2016. All rights reserved. 10

Create the file /etc/ppp/peers/verizon with your favorite text editor, and add the following: /dev/ttyAMA0
115200
connect "/usr/sbin/chat -v -f /etc/ppp/peers/verizon-chat" noauth
defaultroute
usepeerdns
local
debug
updetach
Note that line 1 is /dev/ttyAMA0. This is the UART port for the Raspberry Pi. Save and close the file. Next, create the file /etc/ppp/peers/verizon-chat with your favorite text editor, and add the following: TIMEOUT 35 ECHO ON '' \rATZ OK 'ATQ0 V1 E1 S0=0 &C1 &D2 +FCLASS=0' OK AT+CGDCONT=3,"IP","mw01.vzwstatic","0.0.0.0",0,0 OK ATD*99***3# CONNECT ''
Replace mw01.vzwstatic with the APN for your modem. Note: The double quotes on lines 3 and 7 are two single-quotes with no space between them (‘’), not one double quote (“). Save and close the file.
4.7 Start PPP From the terminal, type the following command: root@raspberrypi:~# pon verizon
Once complete, verify that you have a PPP connection: root@raspberrypi:~# ifconfig
And you should see something similar to the following: ppp0 Link encap:Point-to-Point Protocol
inet addr:100.70.182.29 P-t-P:10.64.64.64 Mask:255.255.255.255
UP POINTOPOINT RUNNING NOARP MULTICAST MTU:1500 Metric:1
PN 30119 © NimbeLink Corp. 2016. All rights reserved. 11
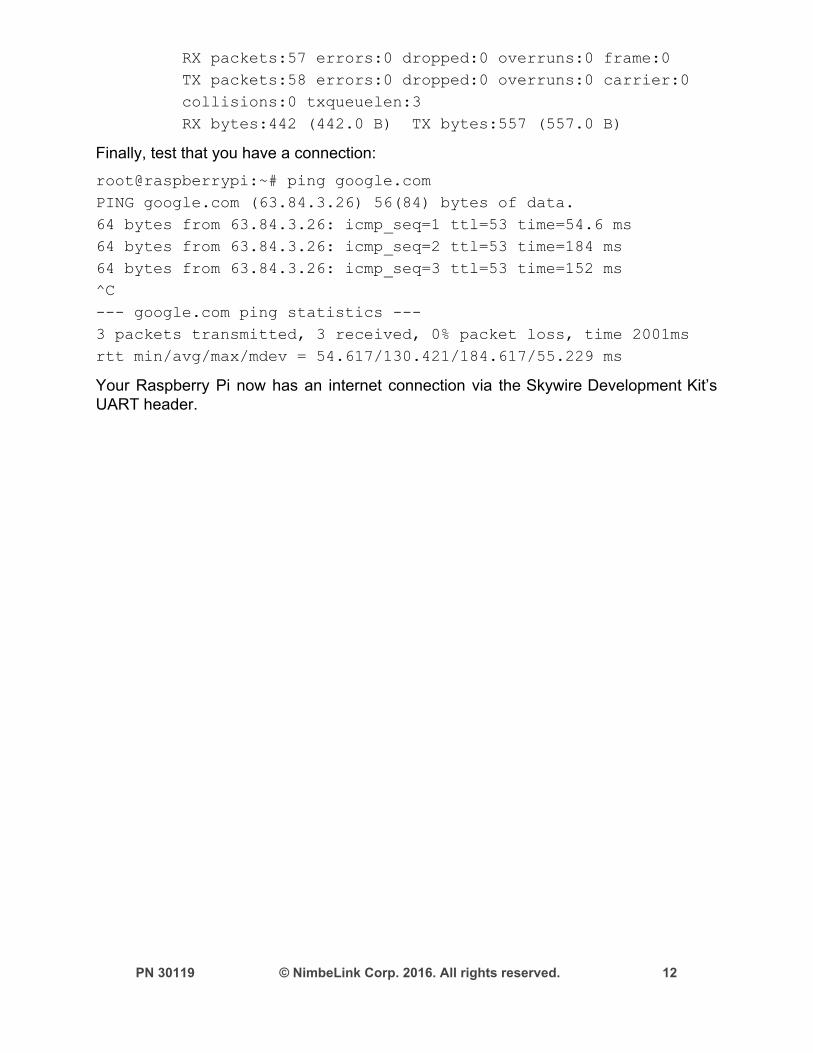
RX packets:57 errors:0 dropped:0 overruns:0 frame:0 TX packets:58 errors:0 dropped:0 overruns:0 carrier:0 collisions:0 txqueuelen:3 RX bytes:442 (442.0 B) TX bytes:557 (557.0 B)
Finally, test that you have a connection: root@raspberrypi:~# ping google.com PING google.com (63.84.3.26) 56(84) bytes of data. 64 bytes from 63.84.3.26: icmp_seq=1 ttl=53 time=54.6 ms 64 bytes from 63.84.3.26: icmp_seq=2 ttl=53 time=184 ms 64 bytes from 63.84.3.26: icmp_seq=3 ttl=53 time=152 ms ^C
--- google.com ping statistics --- 3 packets transmitted, 3 received, 0% packet loss, time 2001ms rtt min/avg/max/mdev = 54.617/130.421/184.617/55.229 ms
Your Raspberry Pi now has an internet connection via the Skywire Development Kit’s UART header.
PN 30119 © NimbeLink Corp. 2016. All rights reserved. 12